#1 DESIGN PROPOSAL

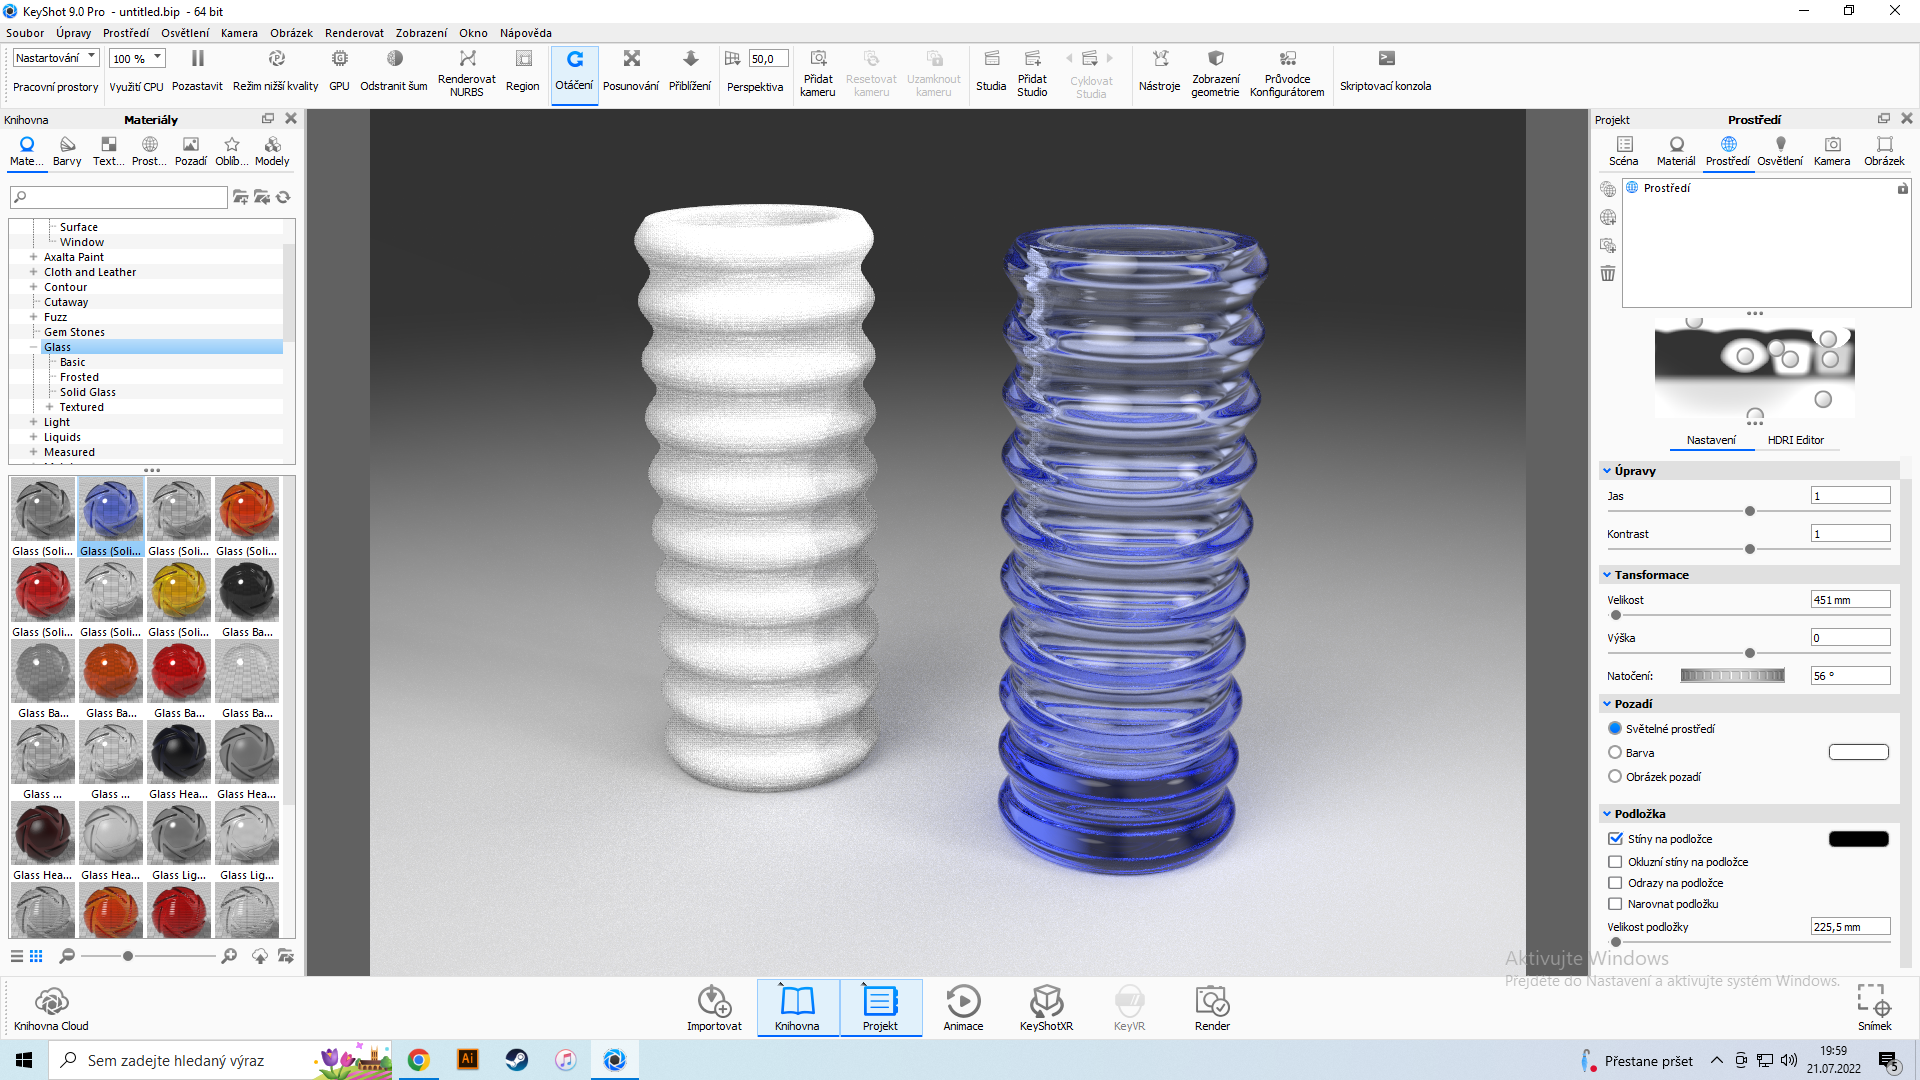
It all starts with an idea, a technical drawing and a 3D design of the product. After a suitable shape is created, a drawing is printed or drawn to produce the glass mould.
#2 MOULD PRODUCTION

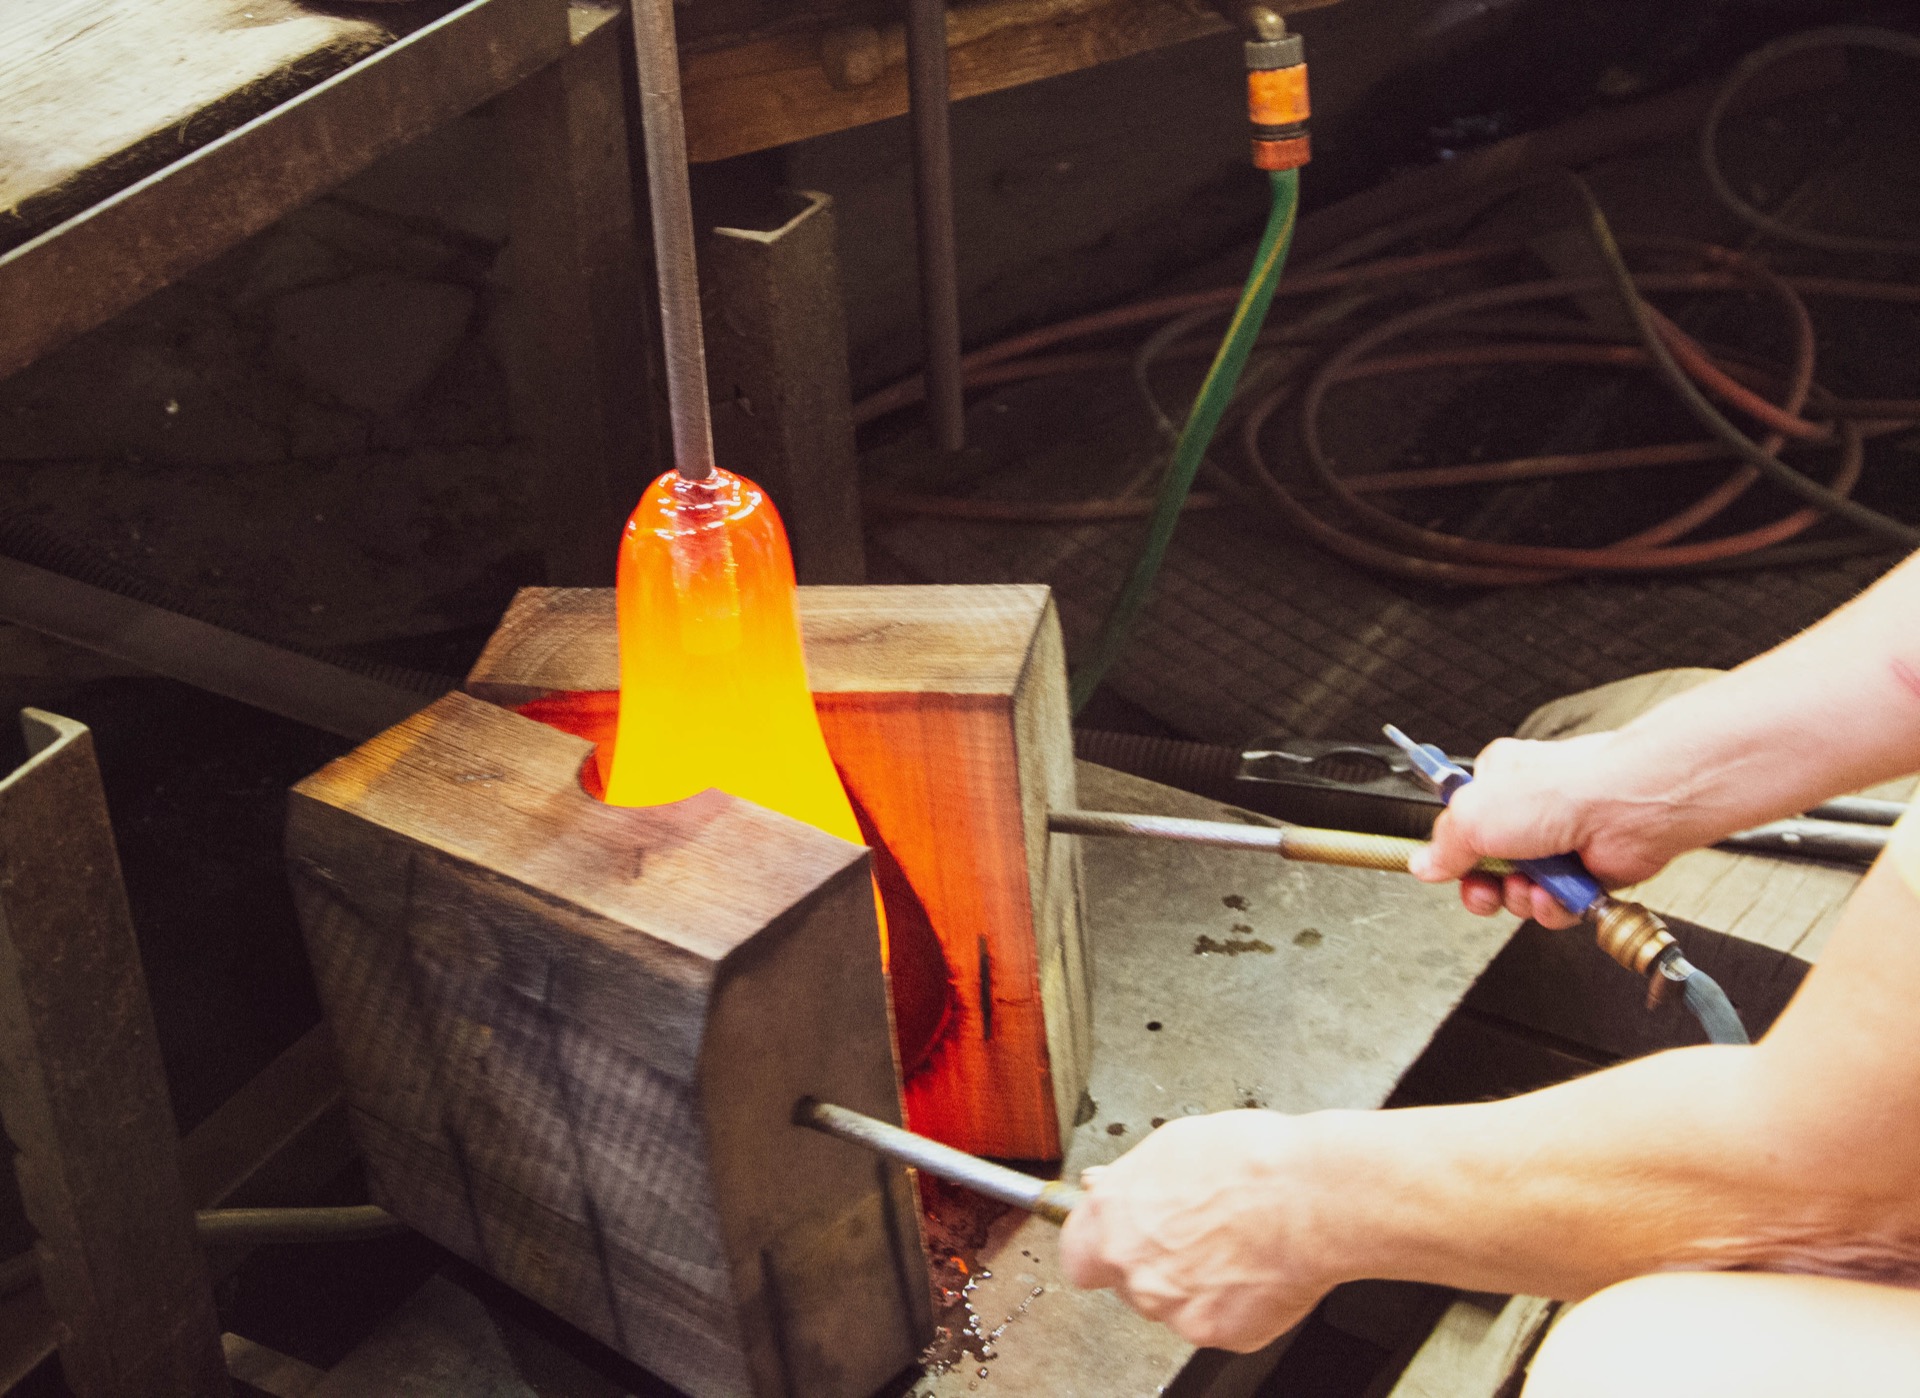
The proposed drawing is handed over to the moulder, who then creates a wooden mould according to the design.
#3 GLASS BLOWING

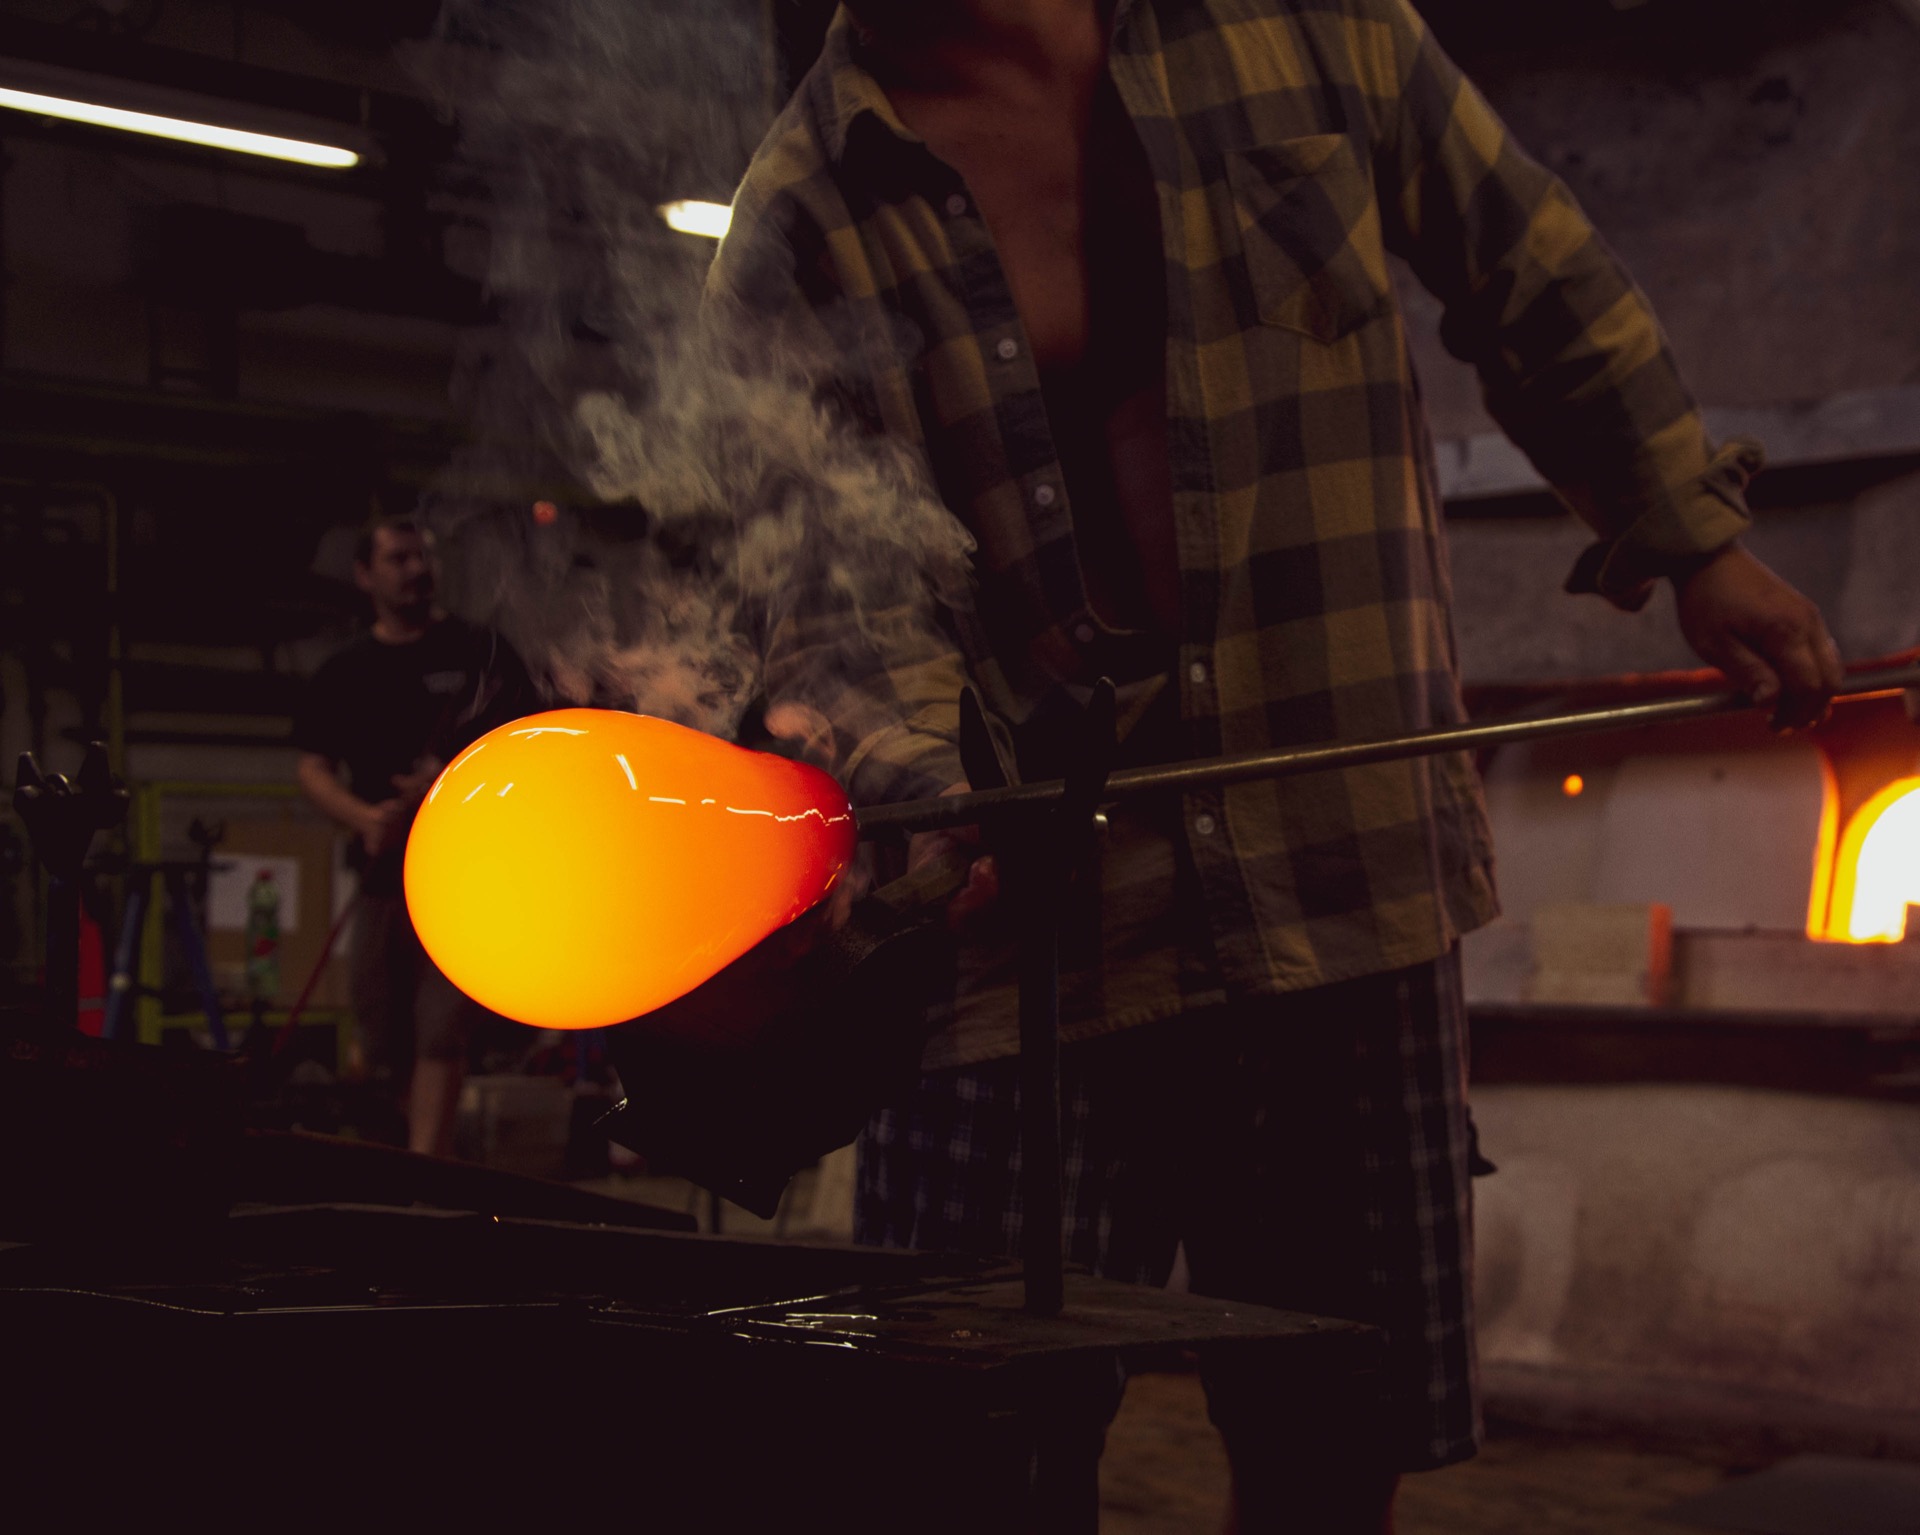
The produced mould goes into the hands of the glassmaker, who creates the desired shape using a blowpipe. Next, the glass is moved into a cooling furnace. The cooling process takes several hours or days, depending on the thickness of the glass. If the glass is not cooled carefully, it can lead to cracking due to internal stress.
#4 GLASS CUTTING

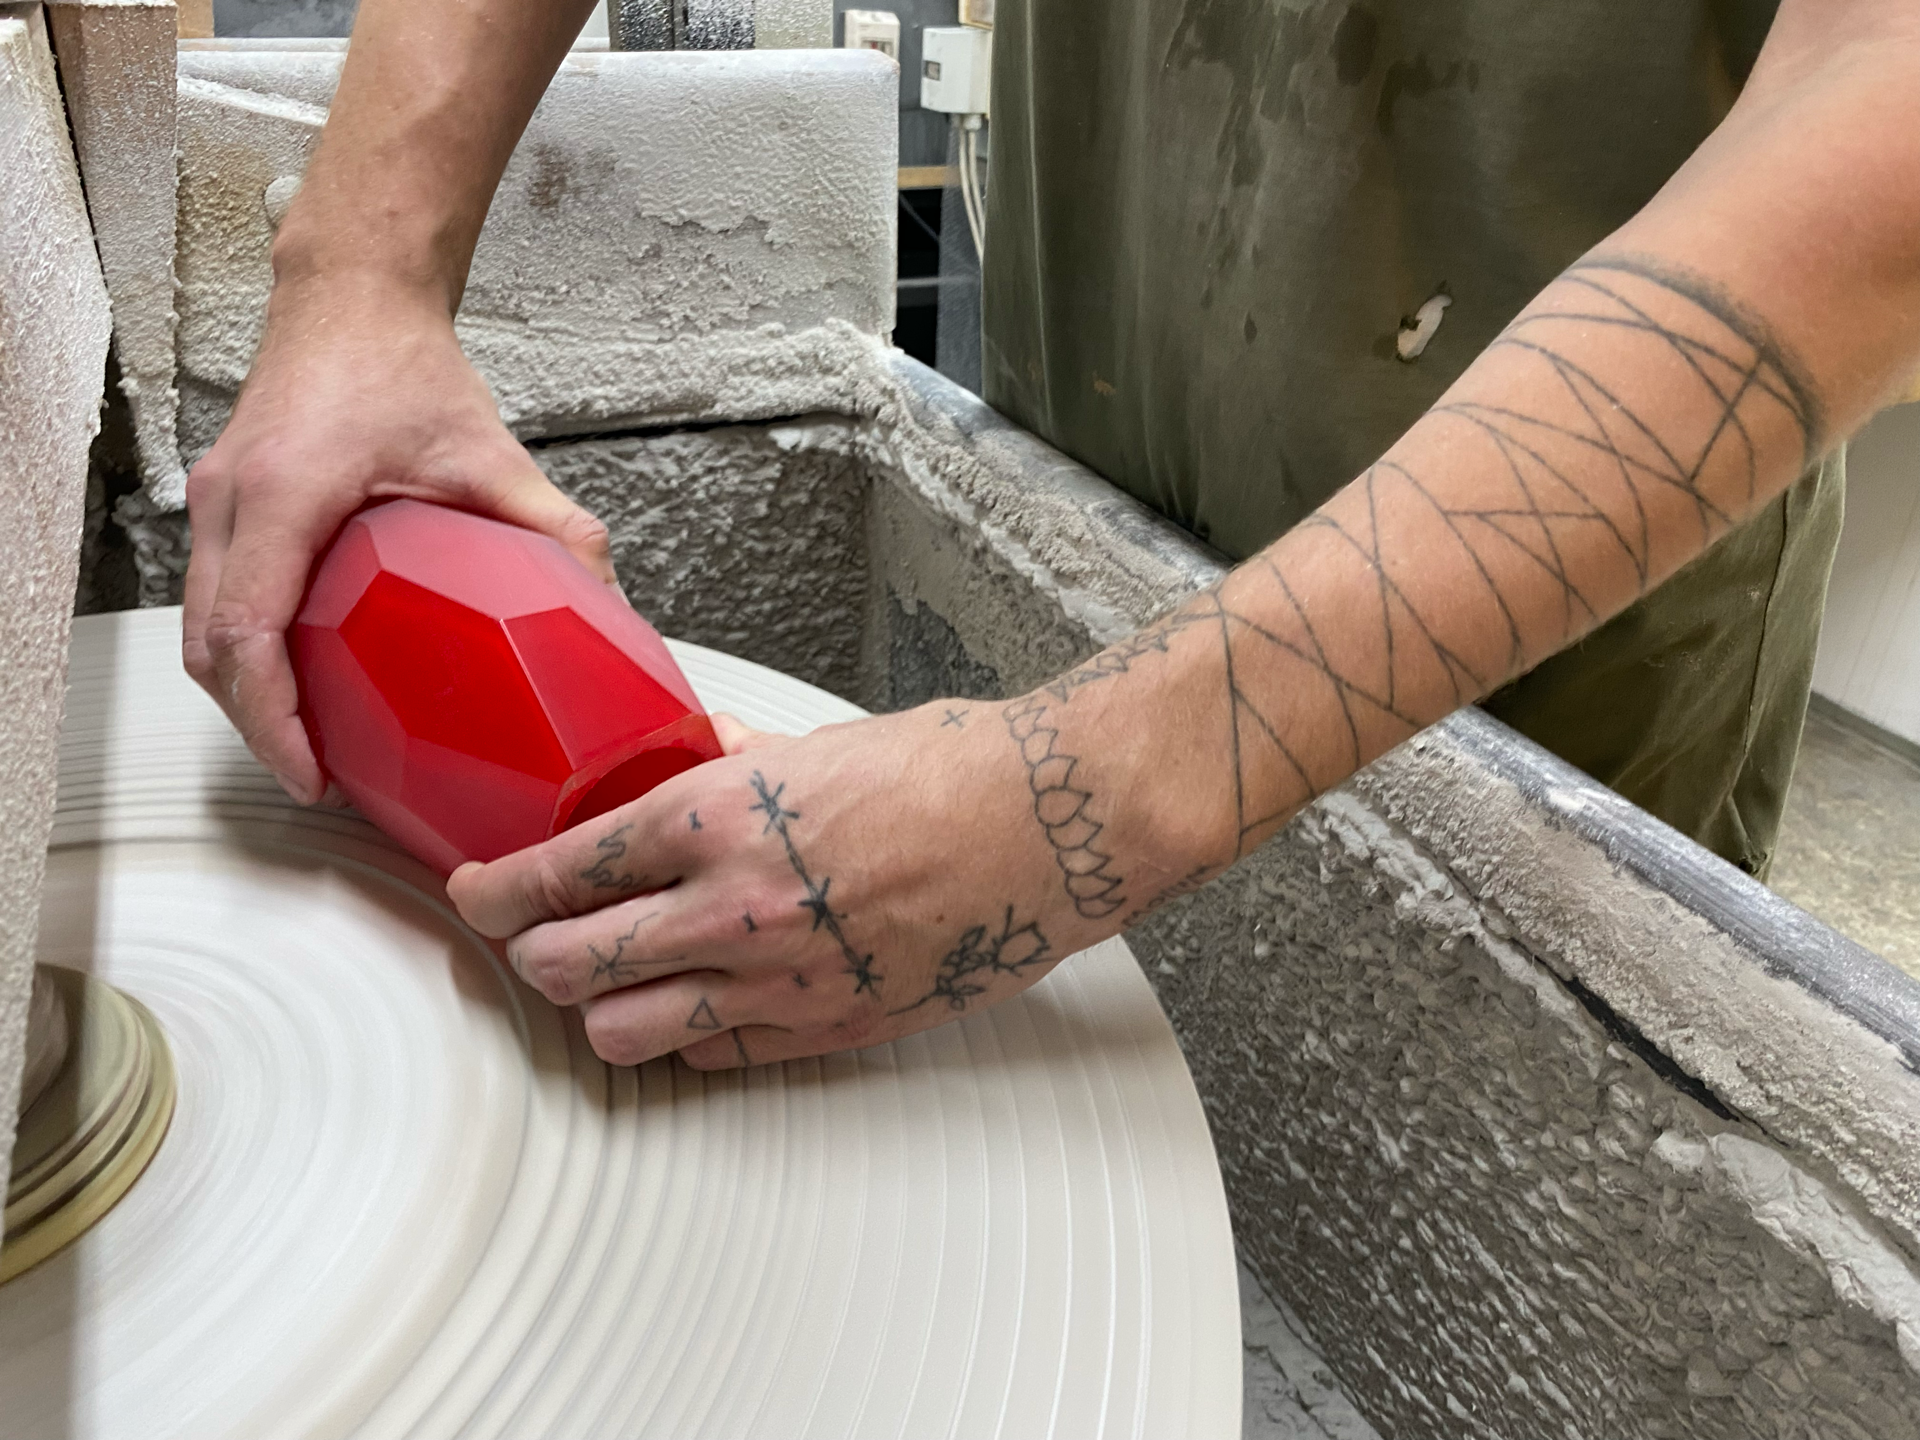
The most important stage of the process is in the hands of Filip, whom we have already introduced to you. Filip works on each blown object for several hours. The product is gradually perfected as it is machined with the use of four discs. The process starts with the coarsest abrasive disc, which creates a rough base for the abraded edges. Next, the edges are gradually refined and polished.
#5 SANDBLASTING AND LACQUERING

In the case of some objects, it is necessary to use sandblasting or lacquering. Sandblasting is used for virtually every product to sign the logo on the bottom or to frost larger areas. Lacquering is used only occasionally to finish rough or sandblasted glass surface in order to protect it against fingerprints, grease, or just for a glossy effect.
#6 FINAL PRODUCT

The final product is packed in a padded box and ready to be sent to your hands.
